Restartable Diffusion Tutorial
This example is the first end-to-end runtime tutorial for drbx as a standalone runtime path, not only an internal utility.
Entry point:
What it demonstrates:
- how to define a small TOML input deck directly in Python;
- how to choose mesh resolution, timestep,
nout, diffusion coefficient, and initial conditions explicitly; - how to choose runtime precision explicitly (
float64orfloat32); - how to call the bare
drbx input.tomlCLI programmatically; - how to write summary JSON, full-result
.npz, restart.npz, and verbose run-log JSON artifacts; - how to resume from a saved restart bundle;
- how to read the saved
.npzfiles back in and make Matplotlib 2D, 3D, and movie outputs.
Run It
PYTHONPATH=src python examples/restartable_diffusion_tutorial.py
There are no command-line flags: like every drbx example, the script is a
flat pedagogical file configured by the PARAMETERS constants near the top.
Edit and rerun:
OUTPUT_ROOT— artifact root; a cwd-relative path (defaultdocs/data/restartable_diffusion_demo_artifacts), so run from the repository root or point it somewhere absolute;MAKE_MOVIE— setFalseto skip the GIF (fastest QA loop);PRECISION—"float64"(default) or"float32", written into the[runtime]section of the generated deck;CLI_PRECISION_OVERRIDE— e.g."float32"to exercise the CLI--precisionoverride path while the deck saysfloat64;QUIET_RUNS— setTrueto silence the per-run CLI progress output.
Generated Artifacts
The script writes:
input/input.tomlrun_first/<case>_summary.jsonrun_first/<case>_arrays.npzrun_first/<case>_restart.npzrun_first/<case>_run_log.jsonrun_resumed/<case>_resumed_summary.jsonrun_resumed/<case>_resumed_arrays.npzrun_resumed/<case>_resumed_restart.npzrun_resumed/<case>_resumed_run_log.jsonrun_full/<case>_full_arrays.npzdata/<case>_combined_history.npzdata/<case>_analysis.jsonimages/<case>_density_snapshots.pngimages/<case>_restart_consistency.pngimages/<case>_density_surface.pngmovies/<case>_density.gif
A representative density-surface figure from a QA-checked run:
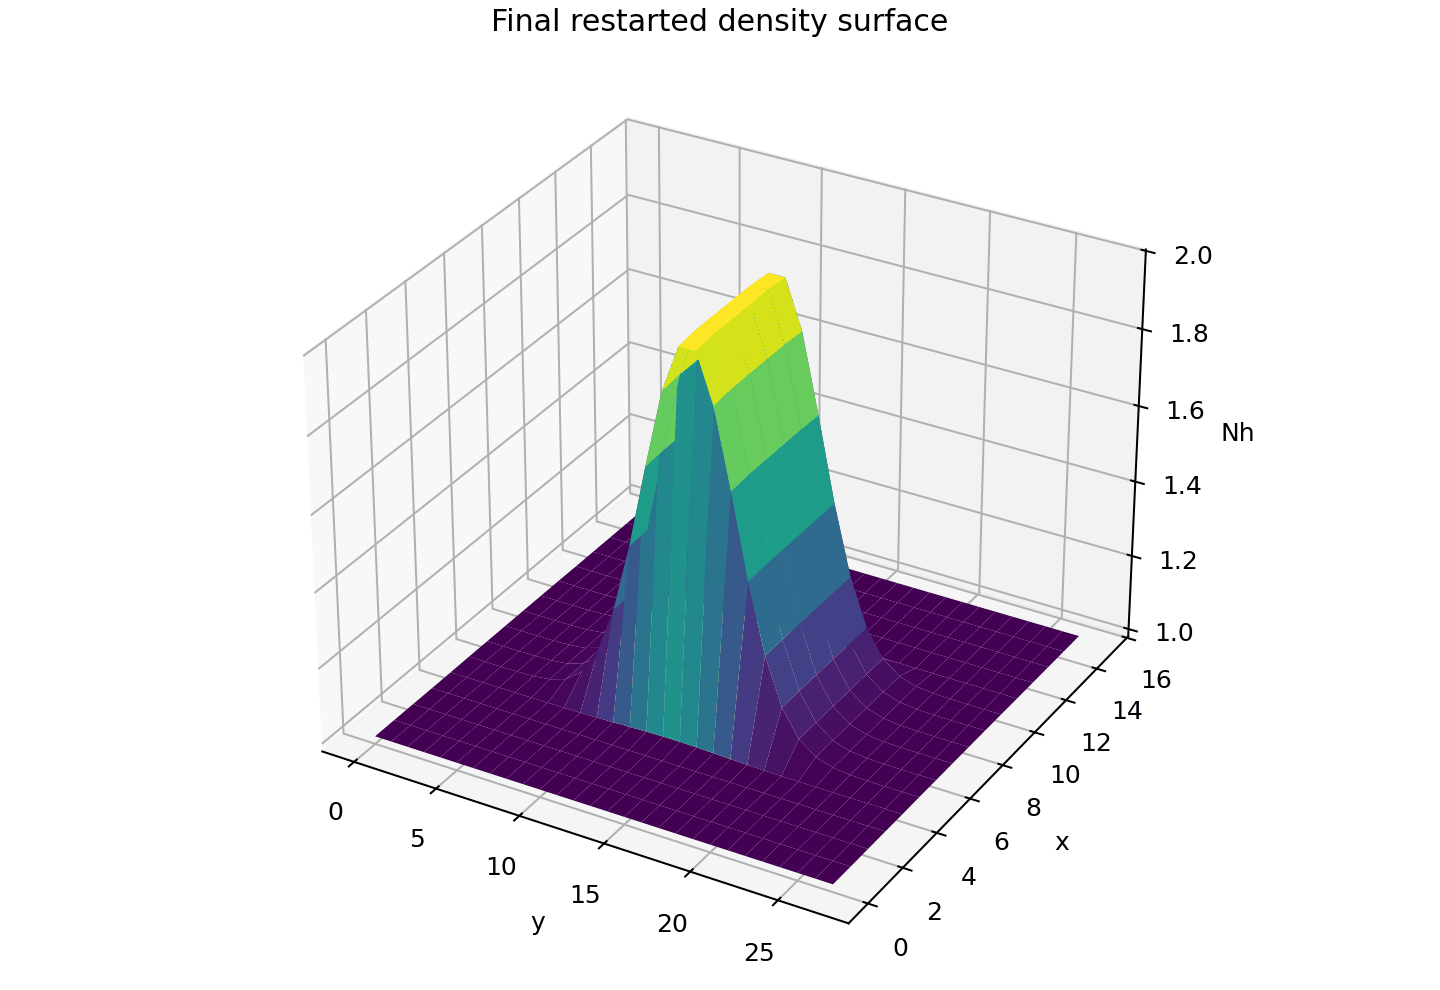
The full artifact package (snapshots, restart-consistency plot, GIF movie) is
regenerated locally by the script; a release-hosted copy lives on the
validation-artifacts-2026-04-28 release (repository access required).
The companion precision benchmark is
examples/diffusion_precision_benchmark.py;
its elapsed-time figure is release-hosted
(docs__runtime_precision_benchmark__images__diffusion_precision_elapsed.png).
What To Edit First
The tutorial is meant to be modified by users directly. The most important functions are:
build_settings(...)build_input_text(...)write_input_file(...)run_segment(...)stitch_histories(...)plot_density_snapshots(...)plot_restart_consistency(...)plot_density_surface(...)render_density_movie(...)
That is the intended learning surface for custom cases: change the TOML deck text, rerun, inspect the saved .npz files and run-log JSON, then adapt the plotting functions to your own fields.